This kitchen set is all over pinterest now, but here's the original pin that I saw a while back:
http://giggleberrycreations.blogspot.com/2009/11/millas-kitchen-handmade-by-papa-grandma.html
I kept looking at these posted all over the internet, but like most crafty things they can get really expensive if you are trying to make a specific "look." I waited and waited to find an entertainment center for cheap, but even at $30 on Craigslist it would be less expensive to buy a used plastic kitchen set at a thrift store!
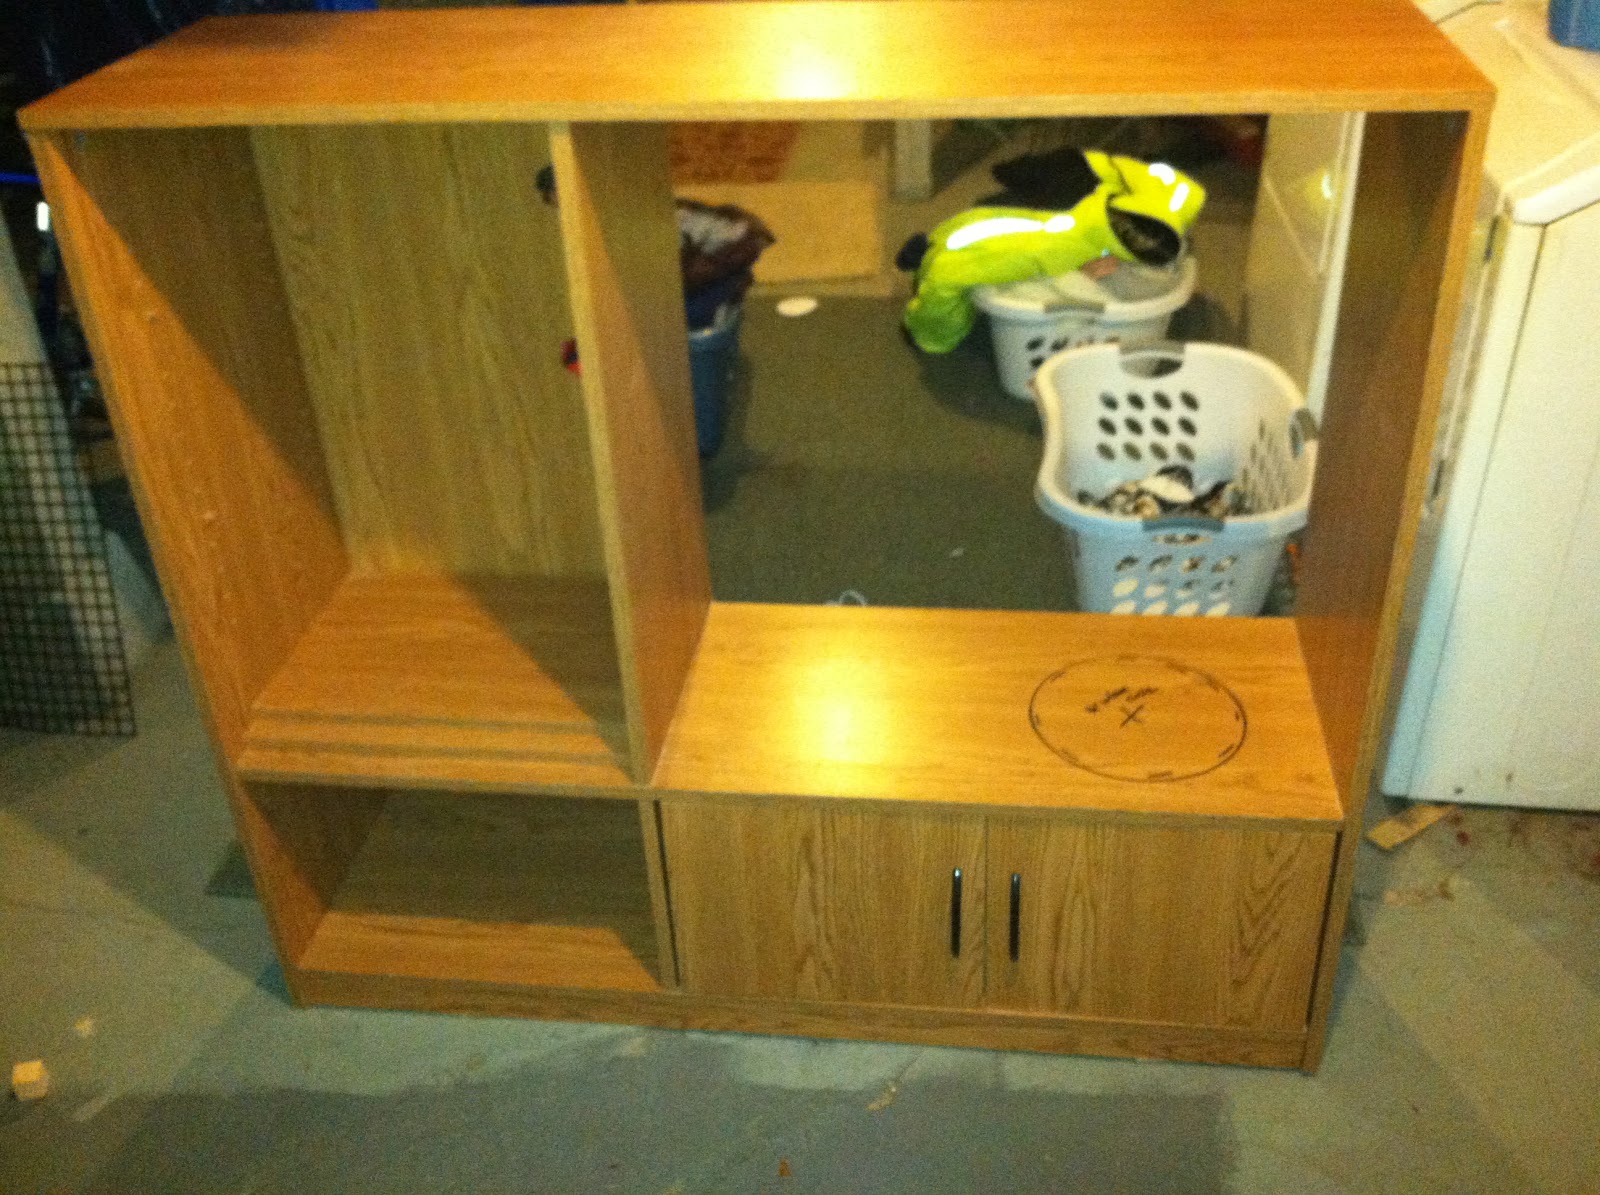
I had all but given up on this idea until our neighbor put out this entertainment center on the curb. I went nuts, told Eric that we HAD to go get it. He looked at me like I was completely nuts. Here I was, 8 months pregnant, asking him to haul a side-of-the-road entertainment center into our already crowded basement. His response - "We don't even have a TV! Are you kidding?" But, being the loving and supportive husband that he is, he obliged even though I'm sure he thought I was just having a surge of frugal and nesting pregnancy hormones at the same time.
List of materials:
Stainless Bowl for sink: $4 at thrift store
Chair pads for stove knobs: $2 at Big Lots
Spice Rack: $2 at thrift store
Sheet for curtains: $3 at thrift store
Knobs for sink: Used Spice jar lids
"Burners" for stove: Ends of frozen orange juice concentrate
Hangers for curtains: $1 - Dowel rod
Decorations: Craft paint (I already had this, didn't use much at all)
Kitchen play dishes and food with tub: $5, garage sale
Here's the pictures:
Step 1: Paint entertainment center
I chose to leave most of the entertainment center wood we really try to have toys of all different materials, not just colored plastic. Maybe it's just my effort to be more environmentally friendly, but I try to make sure we don't live in a completely plastic world. Now to be honest, the entertainment center is pressboard so it actually isn't real wood harvested in environmentally sound ways or likely made with sustainable practices either... but it's the thought that counts in this situation. :) Upcycle, right?
I also cut the hole with our jig saw. This part might be tricky if you don't have a good saw available to make a hole for the sink.

Step 2: Add burners, knobs, sink, spice rack
I used frozen orange juice concentrate metal lids for the 3 smaller burners and 1 large can lid for the bigger burner. The knobs for the stove are non-marking chair pads. The knobs for the water are spice jar lids, I painted one blue for cold. Caleb hasn't noticed that there isn't a faucet. :)
I put glue around the edge of the stainless bowl and weighed it down with a paint can while it dried.
Step 3: Finish painting details
Yep, not an artist here. More creativity required on Caleb's part... no problem with that! I sprayed a clearcoat of water sealer over the doors when they were finished.

 |

Step 4: Sew, hang the curtains
I cut the sheet to fit and did a quick hem on the top and bottoms of each piece. I still had enough left over from the twin-size sheet to fit his toddler bed! Double score there. He loves that they match. Curtains are hung on small dowels attached with eye screws.
Step 5: Reveal to the little man!
Here's a picture the night we brought it upstairs and showed it to him. He was so excited and played with it for about 30 minutes straight.

This was several months ago and he's still loving it! Definitely the best toy in the house... and now that we have little sister to feed pretend birthday cake and super-hot bananas from the oven, the fun is sure to continue!
That is really cool! I'm impressed! What a great idea.
ReplyDelete